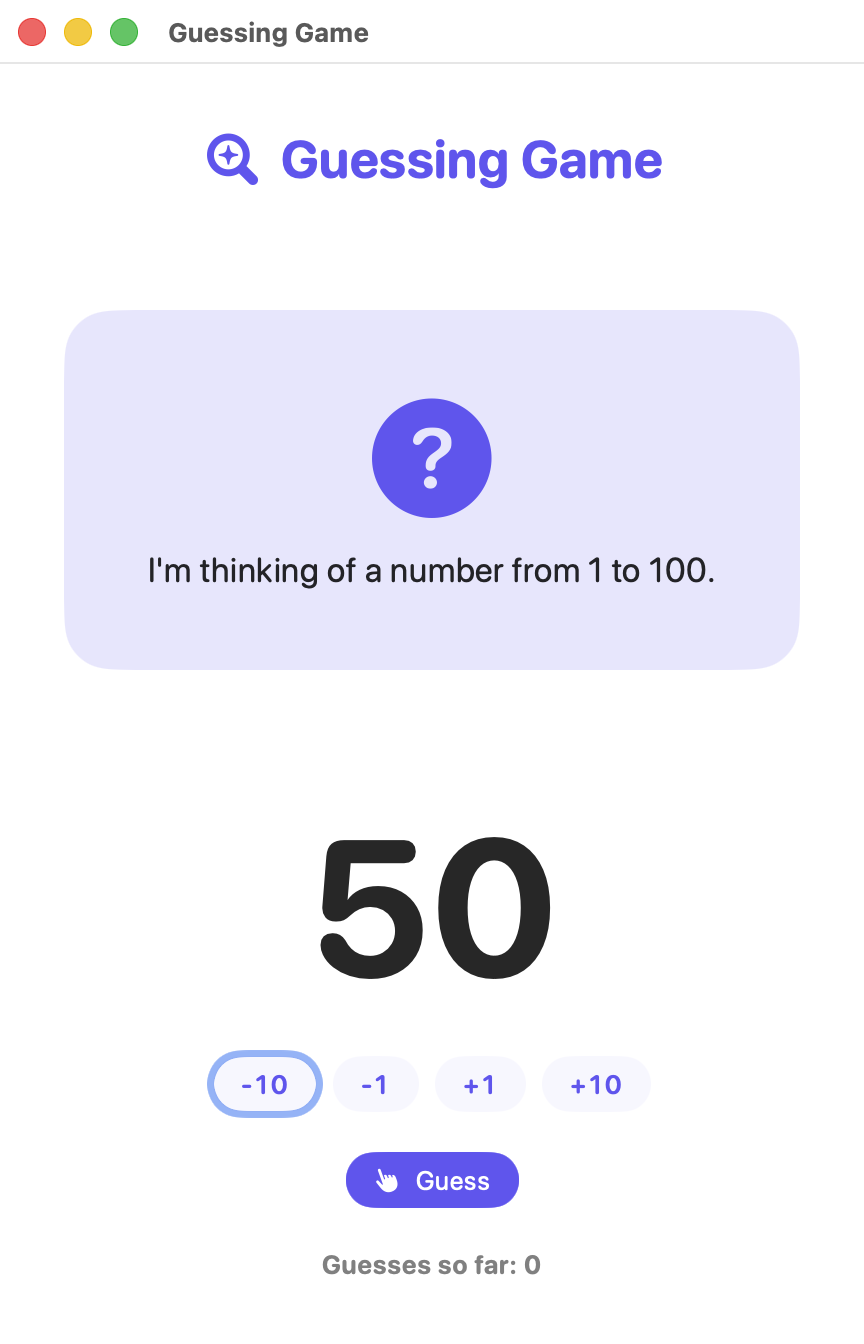
There are three ways to see your game run. Each is useful at a different time.
Way
What it shows
Best for
Preview
One screen, beside your code
Seeing a small change right away
My Mac
The whole app, in its own window on your Mac
Playing your game from the start
Your iPhone (later in the year)
The whole app, on a real phone
Showing people, and things a Mac cannot do
This page uses the Guessing Game, but it works the same way for every game this year.
The parts of Xcode
Xcode is an integrated development environment, or IDE. That means one app holds every tool you need to make software.
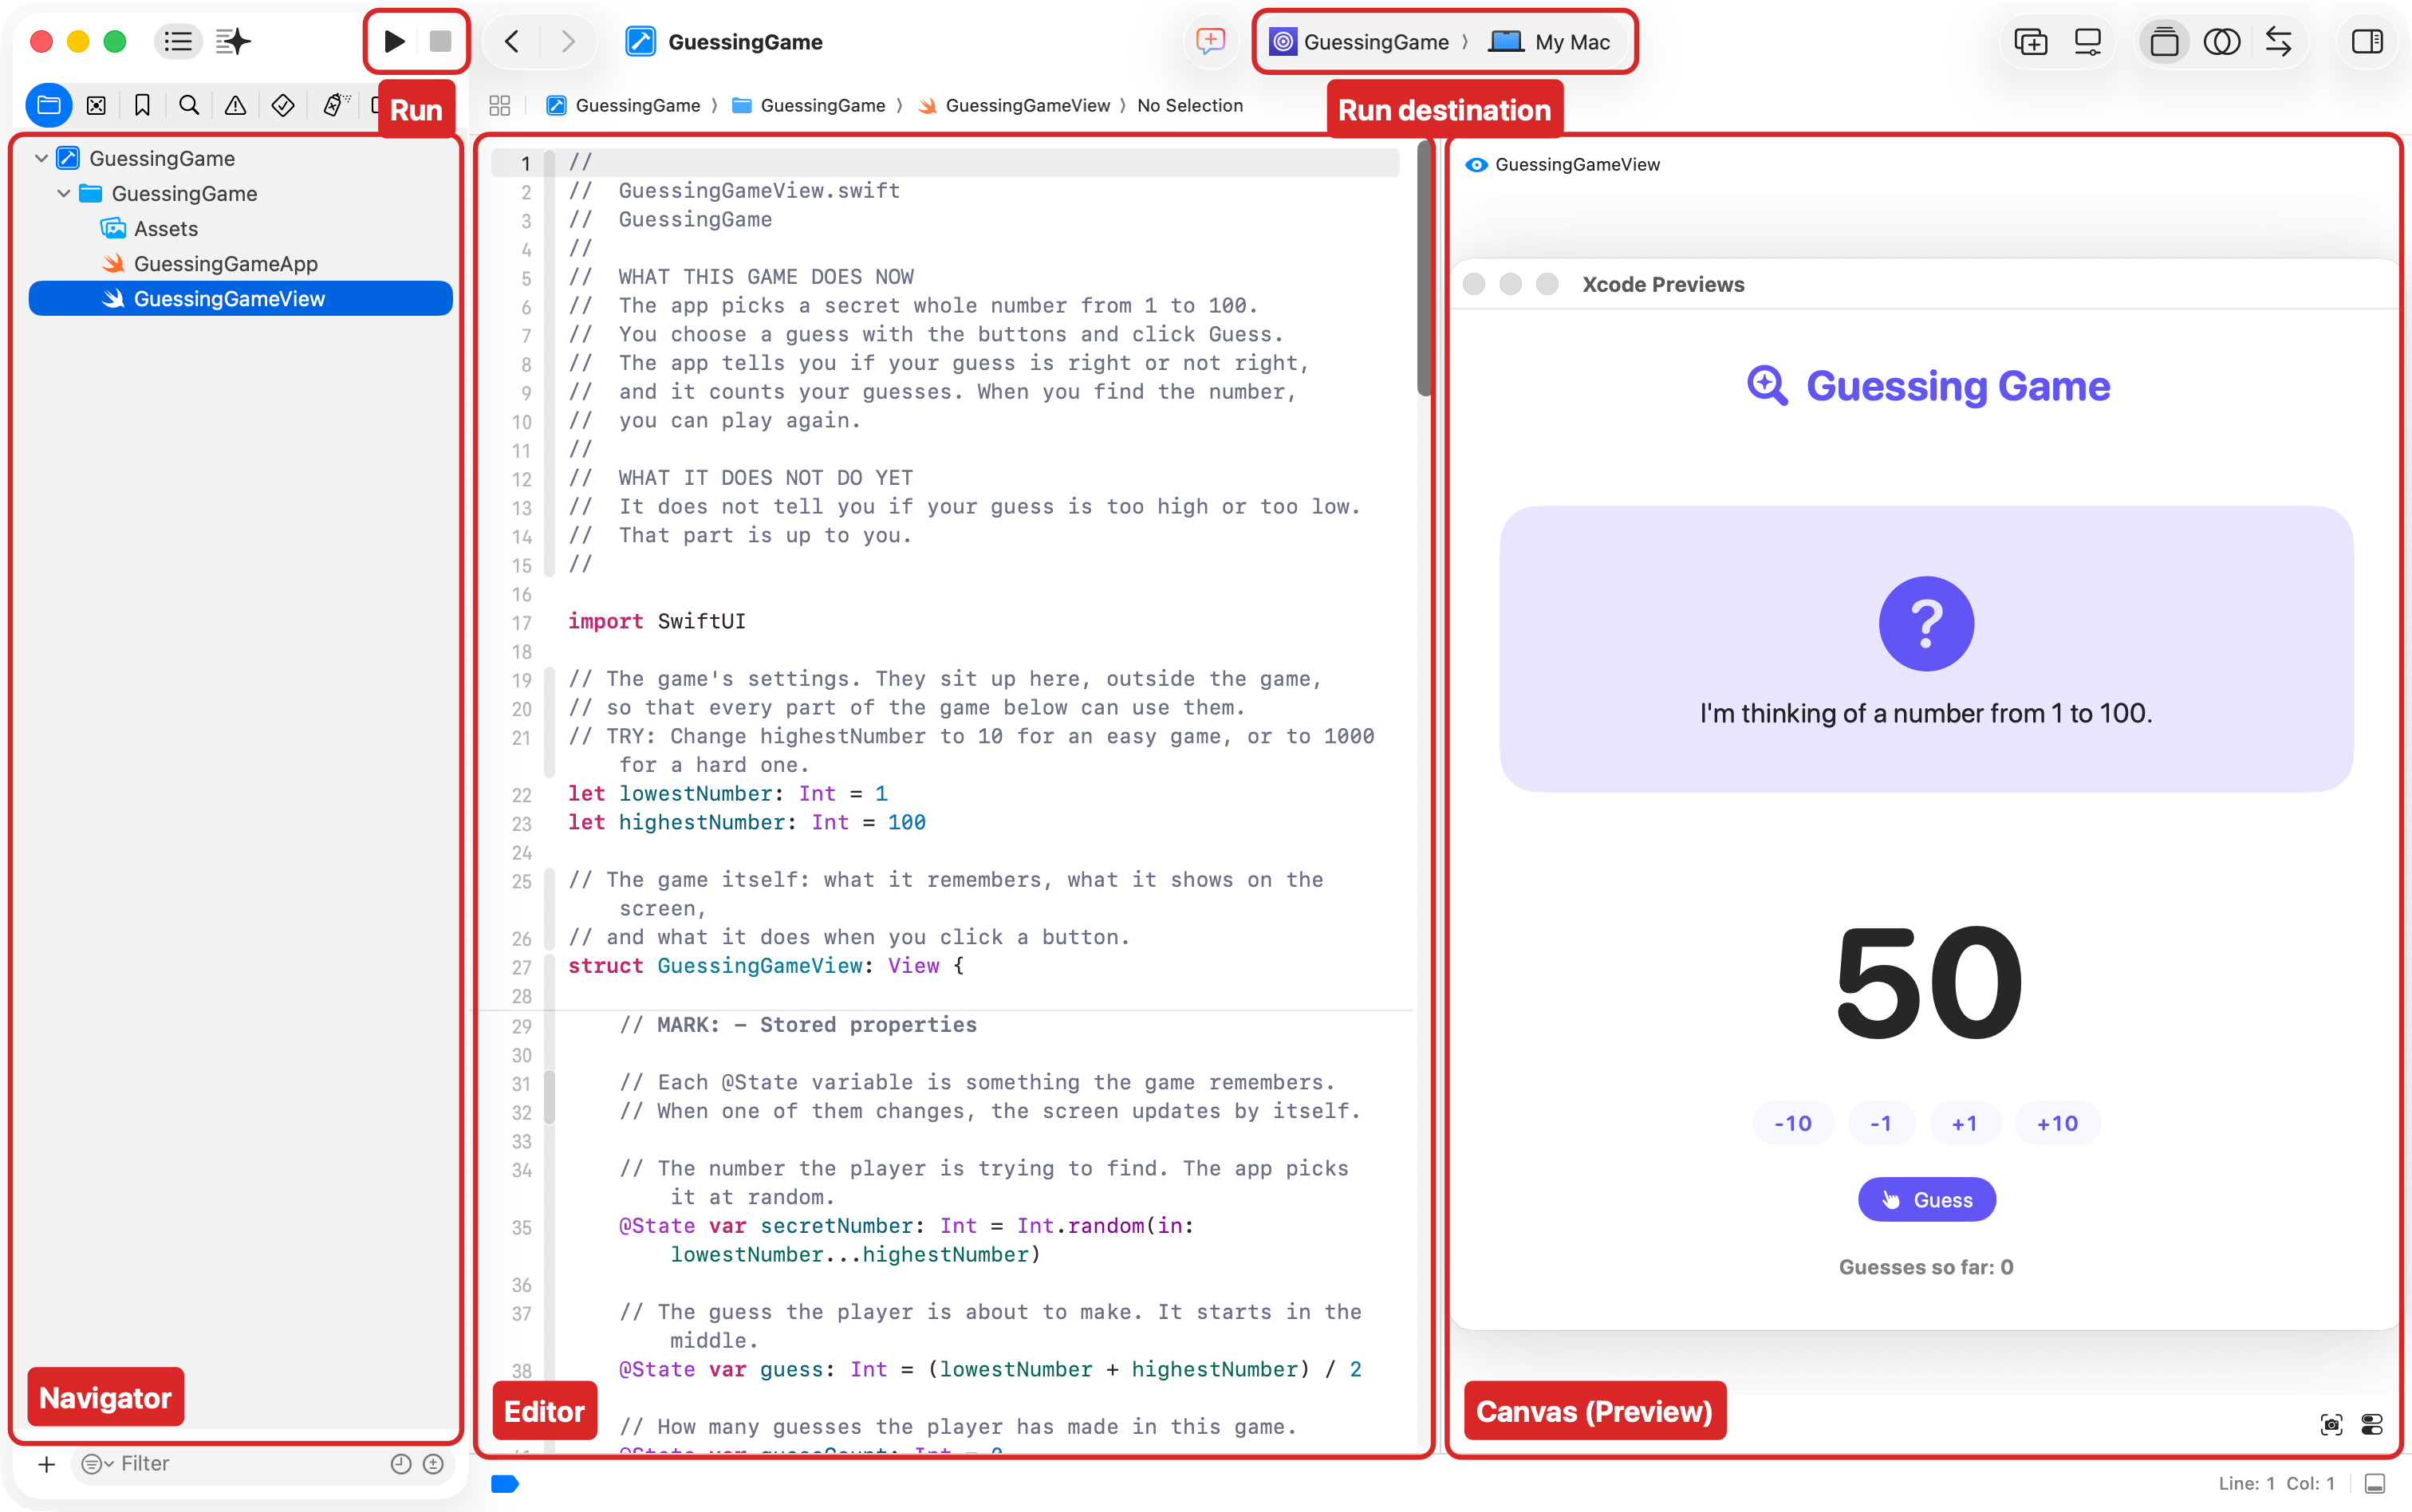
The navigator, on the left, lists the files in your project. Press Command-1 to show it.
The editor, in the middle, is where you read and change code.
The canvas, on the right, shows the Preview.
The toolbar, along the top, has the ▶ Run button and the run destination, which says where your game will run.
When you run your game, Xcode first builds it. The Swift compiler turns the code you can read into instructions the computer can run. If the compiler finds a mistake, Xcode shows a red mark beside the line, and the game does not run until you fix it.
Preview
In the navigator, select GuessingGameView.
If you do not see the canvas on the right, press Option-Command-Return.
If the preview is paused or blank, press Option-Command-P to refresh it.
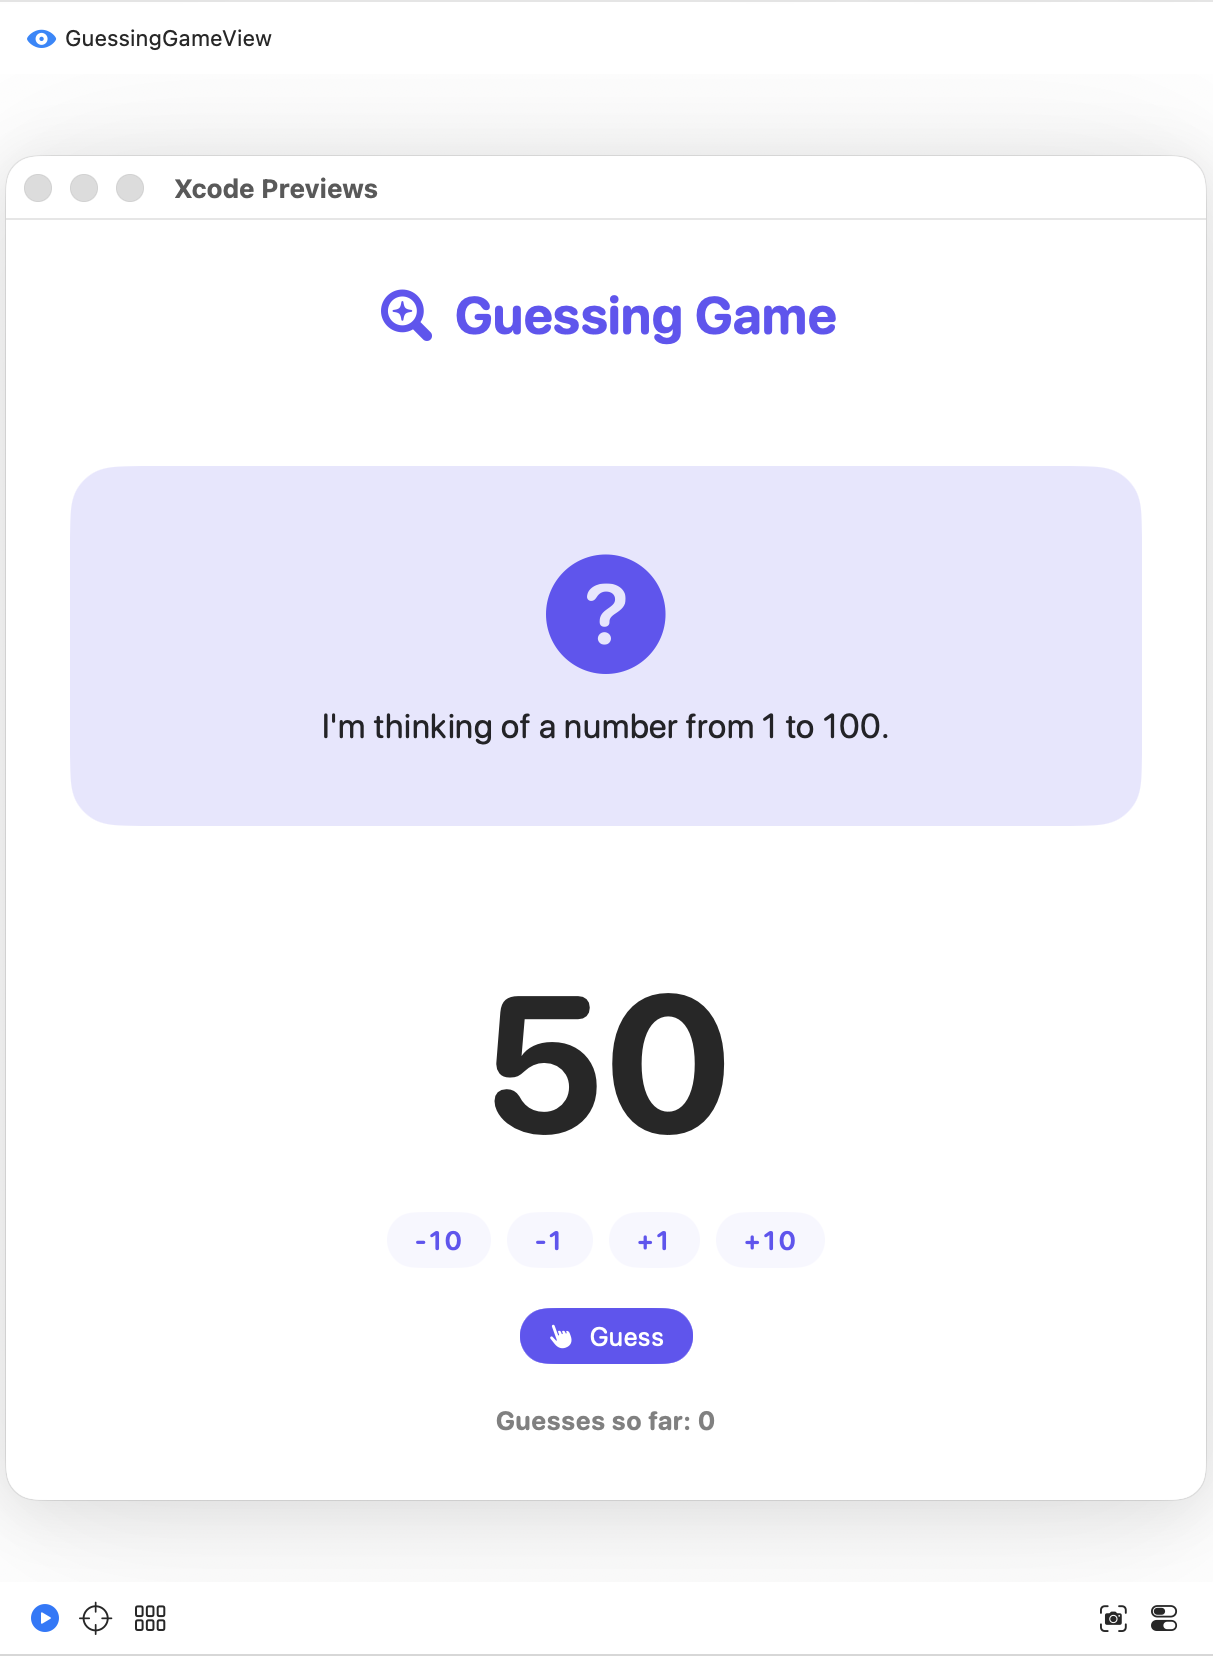
After a few seconds, the game’s screen appears in the canvas. You can click its buttons with your mouse or trackpad.
The preview comes from these lines at the bottom of the file:
#Preview { GuessingGameView()}
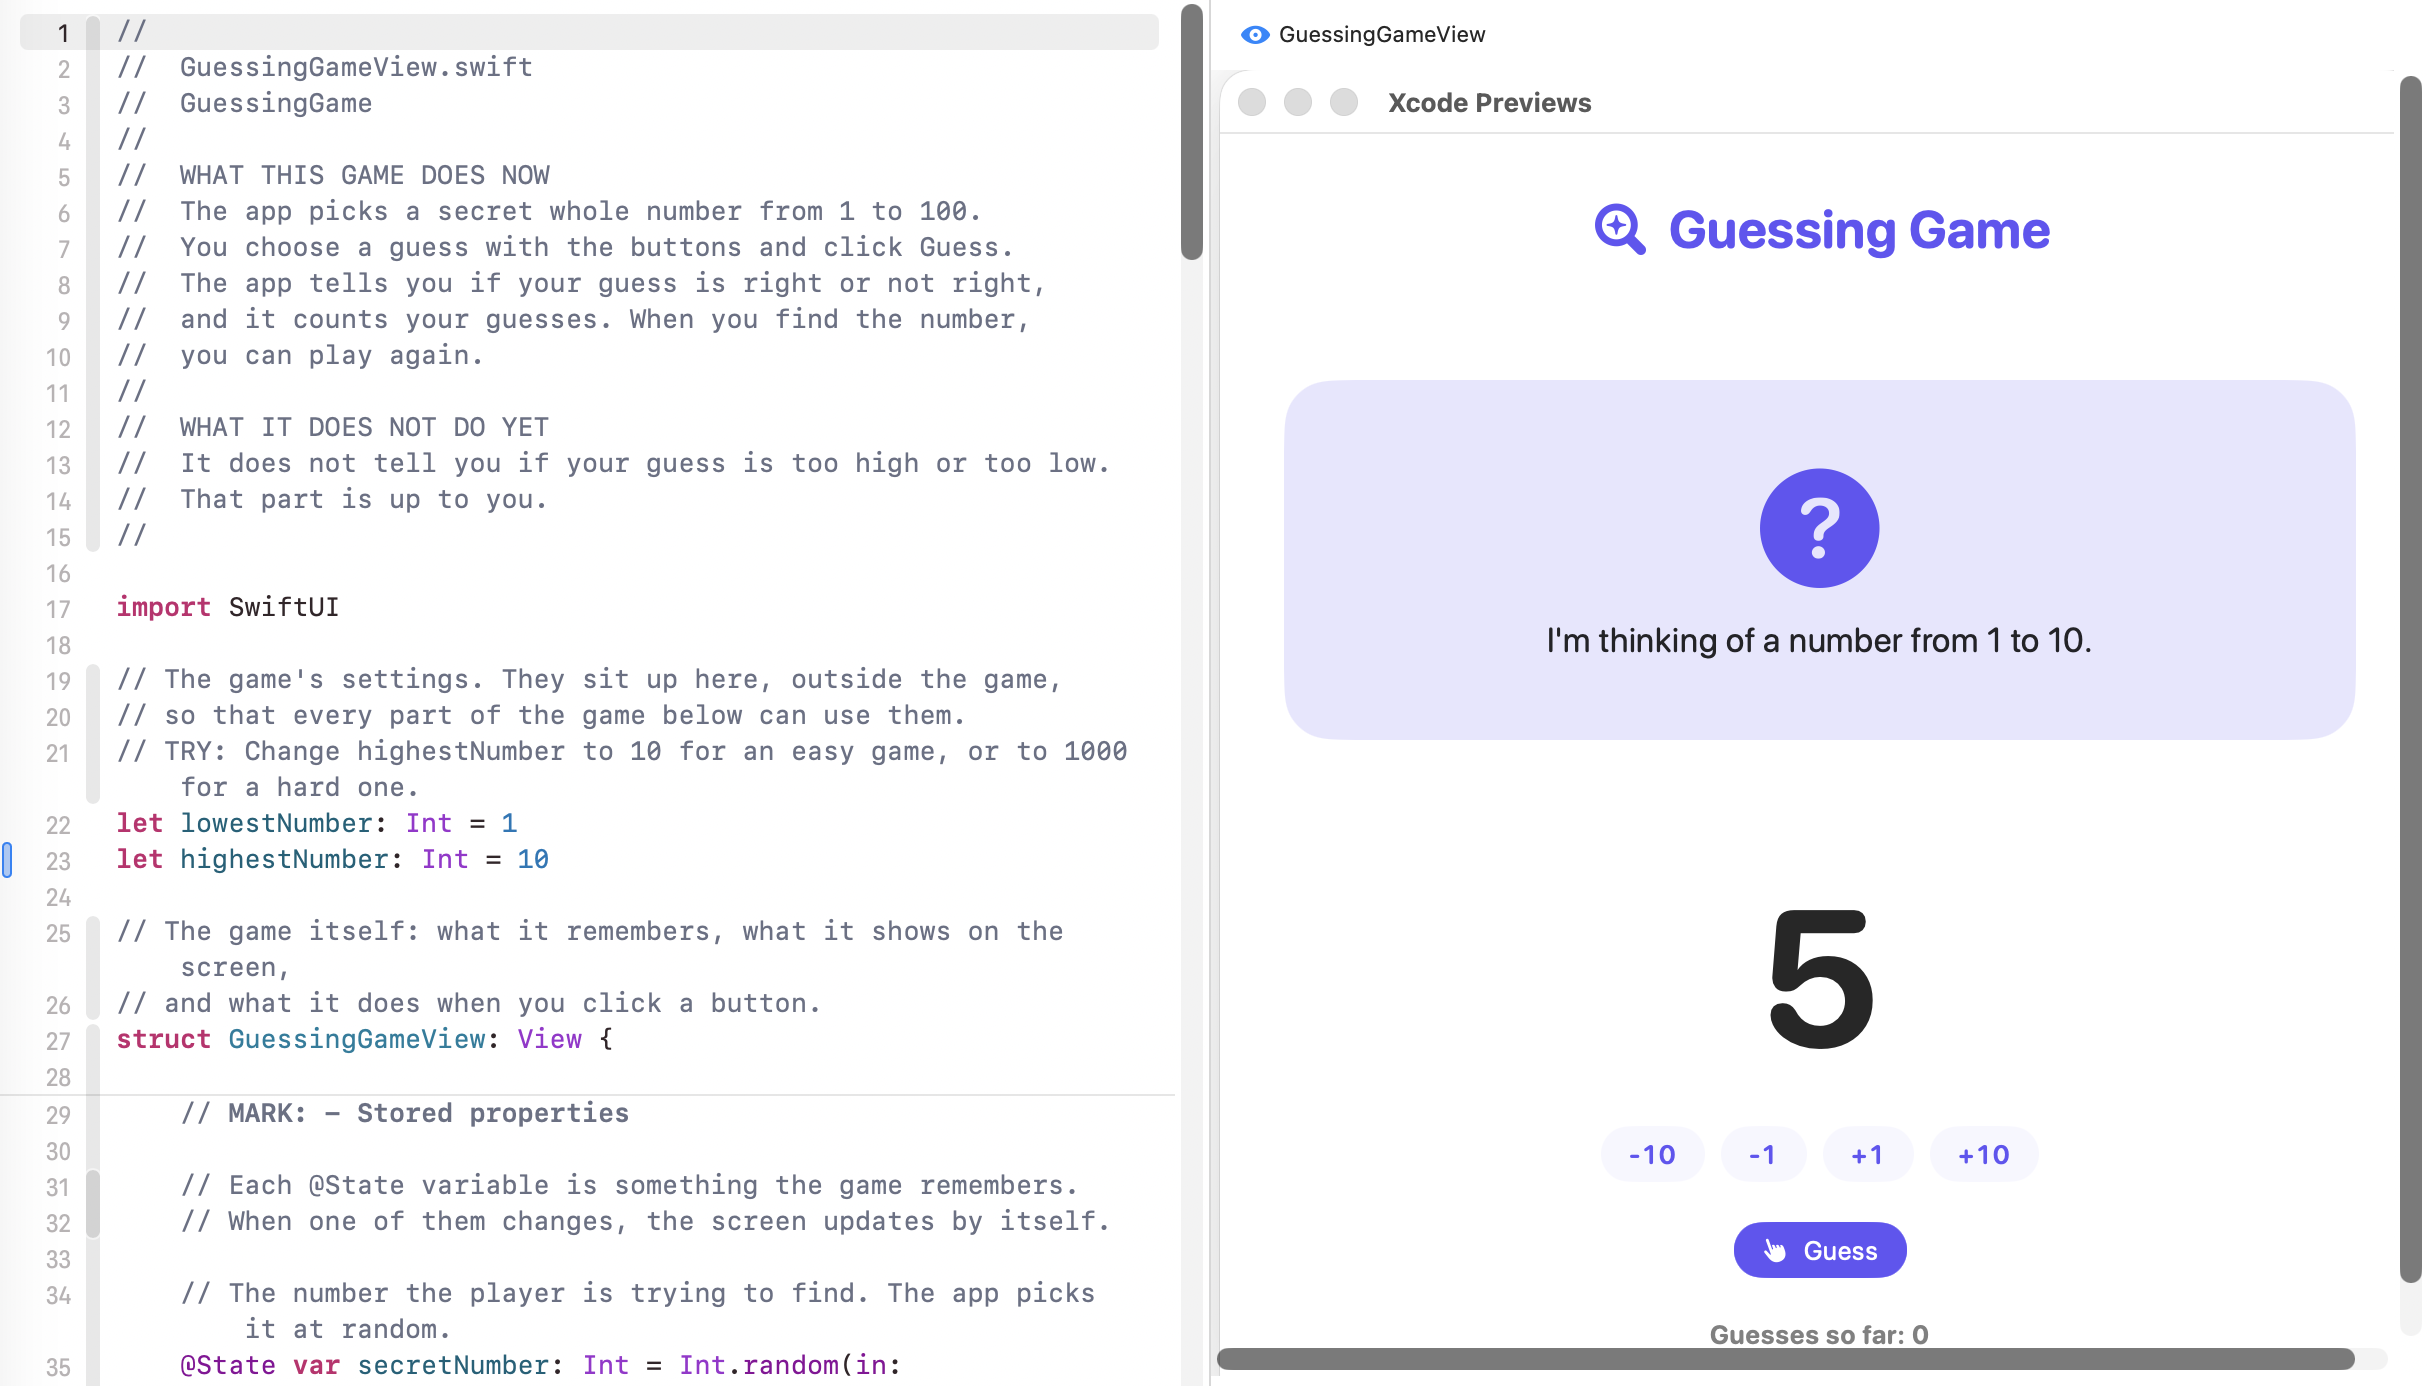
Now change something and watch the preview update. Look for a comment in the code that starts with TRY:. The first one is near the top of the file, just above the game’s settings:
Pick one, and make the change it suggests. For this one, click at the end of line 23, delete the 100, and type 10. A moment later the preview shows the new range, and the guess starts at 5 instead of 50:
Change it back to 100 when you have seen it work. Later lessons count on a game from 1 to 100.
TIP
The first preview can be slow on an older laptop. Start it as soon as you open your project at the start of class. After that, it updates quickly.
My Mac
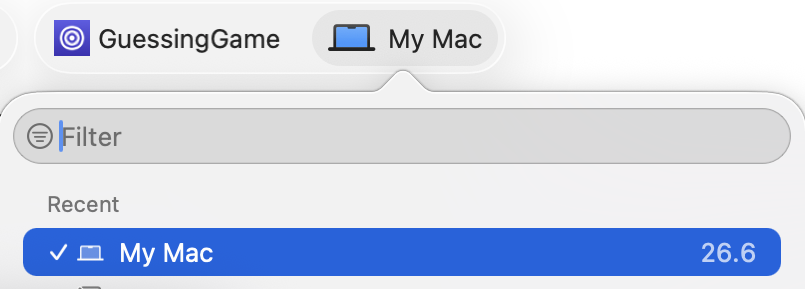
At the top of the Xcode window, find the run destination, the menu that names a device. Make sure it says My Mac.
Press Command-R, or click the ▶ button.
The first run takes a minute while Xcode builds the game. Then the game opens in its own window on your Mac. Play a full game.
When you change your code, you do not need to close the game’s window. Go back to Xcode and press Command-R again. The new version appears much faster the second time. To stop the game, press Command-. (Command and the period key).
Why running on your Mac shows the whole game
The Preview shows only the file you are looking at. Running the game starts at the app entry point, the file marked @main. Open GuessingGameApp to see it. It says which screen appears when the game opens:
@mainstruct GuessingGameApp: App { // MARK: - Computed properties var body: some Scene { WindowGroup { GuessingGameView() } }}
Your iPhone
For now, every game we make runs on your Mac. Later in the year, you may also run your games on your own iPhone. That takes some one-time setup, which we will do together when the time comes.
Test of success
The preview of GuessingGameView shows your change from a TRY: comment.
Your game runs in its own window on your Mac, and you can play a whole game.
You can point to the navigator, the editor, the canvas and the run destination, and say what each is for.
Next class, you will put your game on GitHub, so that every change you make is backed up.
Curriculum connection
C3.1
demonstrate an understanding of an integrated software development environment and its main components (e.g., source code editor, compiler, debugger);